Materials:
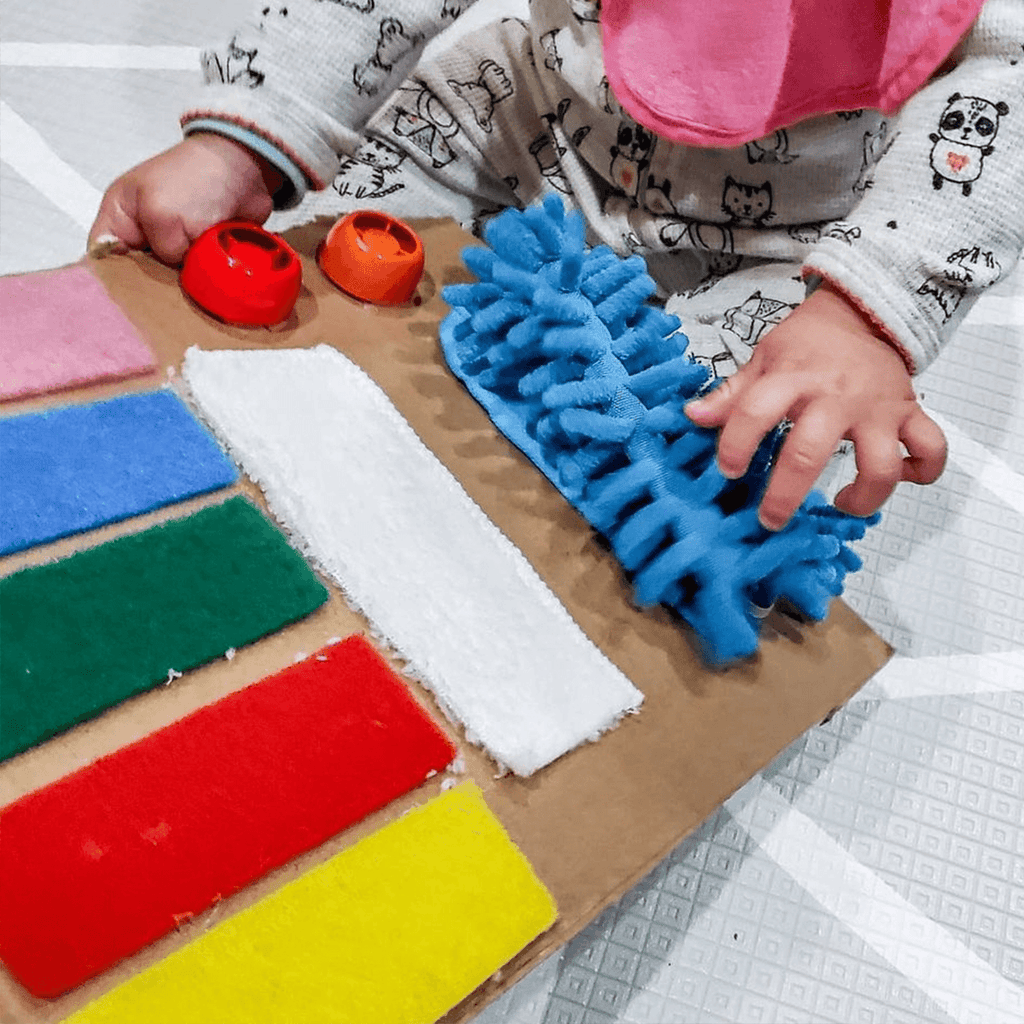
- A piece of cardboard
- Glue Gun (with parental supervision)
- Items of different textures:
- Sponges
- Microfiber towel
- Dusting towel
- Lids from pouches
Instructions:
- Grab your materials and cut each item to fit on your cardboard.
- Using your glue gun, adhere all materials to the board in any order or arrangement you would like. Get creative here! Do you want to put similar textures next to each other or mix them up randomly?
- Give your child the chance to play the board on their own first.
- Sensory activities like this allow your child to explore independently and lay the groundwork for future play, investigation, and curiosity as they become more mobile. Ask them questions about what they might be feeling or experiencing: "Can you find someone that is soft? What does this feel like?"
- To encourage autonomy, mobility, and stoke curiosity, place your sensory board a few inches away from your child to provoke reaching (eye-hand coordination), standing (balance) and crawling (gross motor) movement. This will also strengthen their core, arms, and legs.
- Allow your child to explore the board however they wish by transferring it from hand to hand, shaking and grabbing it. These are all development milestones.
- When your child is finished, you can put it away or place it up in a slightly elevated location (as long as it is not dangerous or placed in a precarious place) to encourage more reaching and eventually standing.
Skill areas addressed:
- Gross motor skills
- Coordination
- Motor control
- Balance
- Hand-eye coordination
- Sensory
Extensions & Adjustments:
- You could create a larger one and tape to a wall to encourage standing.
- If you have an older child they could use tacky glue and help create it for their sibling. This will make them feel included in the process. Just allow for drying time.
Author: Analisa Carrillo

